
Graphics hardware acceleration settings
For correct and fast graphics displaying in a workspace, you can specify the way of nanoCAD interaction with PC’s graphics hardware accelerator: using OpenGL, using DirectX or using OpenGL software emulation mode.
There are special settings for every mode of interaction. OpenGL graphics library is set by default. This mode provides 3 OpenGL settings sets, which should be switched depending on the PC’s video adapter performance.
For the first time you should use autocheck of system performance of graphic system.
Automatic adjustment of graphic hardware acceleration
The program graphic subsystem might work slowly or become unstable with some video adapters and driver versions. For example, the cursor in the empty drawing moves unevenly or isn’t shown. In this case it is worth to estimate performance of PC video subsystem with automatic determination of the optimal set of graphics settings.
 Menu: Help – Video Subsystem performance check
 Command line: VPERFTEST
NOTE: It is better to close all running programs to get correct test results.
When the test is finished, the dialog with the results is shown:
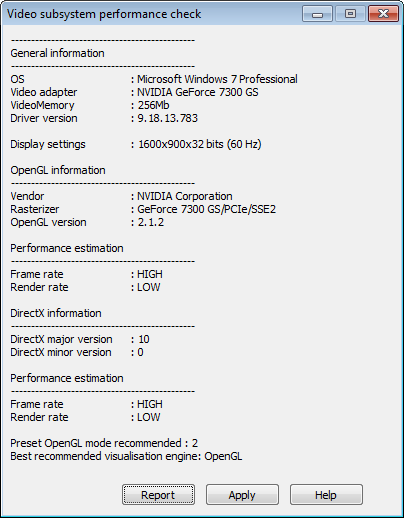
The Report button is used to save the results of testing in a separate file. Apply button enacts Graphics hardware acceleration settings that were recommended after automatic testing, and shows following message:

NOTE: In case you click Cancel button, the settings recommended based on the results of automatic testing will not be applied.
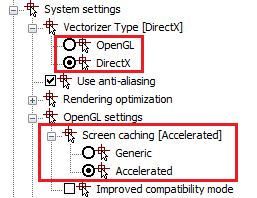
The command can change only the following Graphics hardware acceleration settings:
Other options will not be changed. You should change them in Option dialog manually.
OpenGL manual adjustment
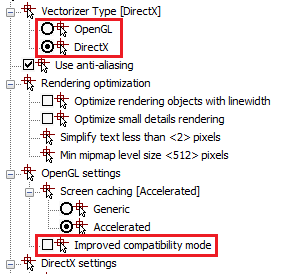
These settings can be changed manually in the Graphic settings section – OpenGL settings – Graphics hardware acceleration settings of the Options dialog:
For manual OpenGL adjustment, do the following:
1. Save all changes, close all drawings that you are editing.
2. Open the Options dialog box (menu Tools – Options).
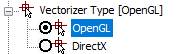
3. Open the System settings section – Vectorizer Type [OpenGL] and make sure that OpenGL is selected.
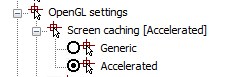
4. Open the OpenGL settings section – Screen caching [Accelerated]:
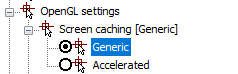
5. Select the setting variant different from the current one: Generic item or Accelerated item.
6. Click OK.
7. Open a new document and assess the speed of cursor movement.
DirectX manual adjustment
You can use DirectX instead of OpenGL graphics library.
Switch to DirectX in the Graphic settings – OpenGL/DirectX section of the Options dialog.

By default, when DirectX is selected, DirectX 11 is activated. If it is not supported by the system, then DirectX 9 is activated. You can change DirectX version manually by DirectXVersion option in DirectX settings or NCGS_TOGGLE_DIRECTX command.
Displaying of small raster images is quicker when the image is saved in computer graphic memory. This coefficient limits the size of raster images that will be saved in graphic memory. The image is suitable if its largest size (vertically and horizontally) is less than the following value: the size of graphic memory multiplied by this coefficient. The coefficient is fractional number between 0.1 and 0.5.
DirectX version
You can switch the used DirectX version in the DirectX settings section.
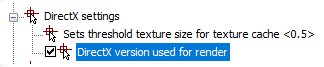
If the box is checked, then DirectX 9 is used.
When the box is not checked, the default DirectX version is used. In most cases, it is DirectX 11, but if it is not supported by the system, then it is DirectX 9.
You can also switch DirectX version by NCGS_TOGGLE_DIRECTX command.
Post your comment on this topic.