
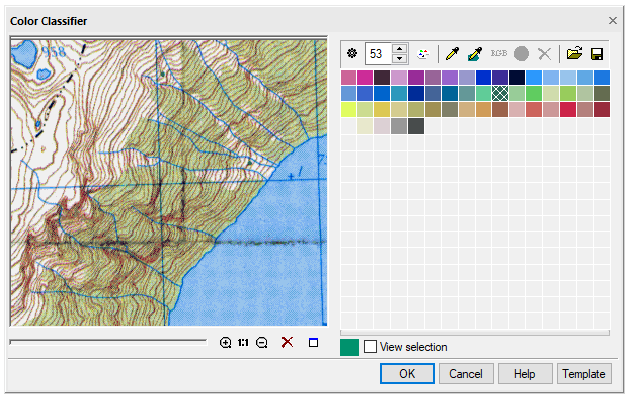
Editing color palette (Color classifier)
 Ribbon:Raster– Processing>
  Color classifier
Menu: Raster – Processing the raster >  Color Classifier…
 Command line: PALEDITOR
 This functionality is available only in the Raster module.
With the help of edit operations, the color palette of the image can be calculated automatically or changed based on the colors specified by the user.
Colors in the image are managed in the Color Classifier dialogue box. The dialogue tools allow you to:
- reduce the palette by deleting selected colors or combining several colors into one;
- replace the selected colors;
- add new colors in the palette;
- save the customized palette for use when processing the same type of color images.
Set auto palette
Click the  button. The program will automatically determine the set and number of colors that represent the image the most accurately.
Create a new palette
Set the number of colors in the Color Counter field or edit the palette in the Color samples table.
Click  button. It is used to recalculate the palette based on the number of colors specified in the Color counter. The changes are controlled in the preview window. When the required result is achieved, click OK.
Color selection
Methods:
- specify the color in the Color samples table by the mouse; several colors are selected while holding down the SHIFT key;
- click
![]() button, specify the point in the image; the selected color will be highlighted in the table;
button, specify the point in the image; the selected color will be highlighted in the table; - Click
![]() button, select the area in the image with a polygon; colors contained within the specified polygon will be highlighted in the table (to close the polygon, press the right mouse button or ENTER).
button, select the area in the image with a polygon; colors contained within the specified polygon will be highlighted in the table (to close the polygon, press the right mouse button or ENTER).
You can control the selected colors in the image using the View selection tool.
Delete color from the palette
1. Select color(s) to be deleted.
2. Click Delete colors button.
You can reduce the number of colors by setting their number in the counter window and clicking button.
Add color to the palette or replace existing one
1. Select the colors to be replaced or specify an empty square if you need to add a color.
2. Click  button and specify in the dialogue that opens the color to be added or replaced.
Merging several colors into one
1. Select several colors in the table while holding down the SHIFT key or specify them in the image using  tool.
tool.
2. Click  button.
The Apply button starts application of the settings made.
Info: NanoCAD is an easy-to-use, low cost, and yet professional, CAD freeware tool for personal computer, that delivers an outstanding user experience by providing top-level performance, full capability, a classic interface and native.dwg format support. nanoCAD has been built to deliver design and project documentation for all industries. nanoCAD includes a full suite of basic and advanced CAD tools for 2D/3D drawing and creating industry-standard DWG-compatible CAD files. Our tool ensures groundbreaking, collaborative and customizable features to raise your efficiency, and includes several API’s, allowing anything from routine task automation to complex CAD application development. You may download nanoCad for free, using the links below, and buy later, if you like it.
Post your comment on this topic.